Table of Contents
Spatchcock Turkey Recipe: The Ultimate Guide to Juicy and Flavorful Turkey
Let’s be real—turkey can be a bit tricky. Cook it wrong, and you’re left with a dry, bland bird that no one’s excited about. But what if I told you there’s a game-changing spatchcock turkey recipe to cook turkey faster, juicier, and with that crispy skin we all dream about? Enter the spatchcock turkey method! Whether it’s Thanksgiving, Christmas, or just a weekend dinner, this technique will make you the turkey MVP. Stick with me as we dive into everything you need to know about spatchcocking, from prep to plating!
What Is a Spatchcock Turkey? Understanding the Technique
Spatchcocking might sound fancy, but a spatchcock turkey recipe is simply about removing the backbone of a bird and flattening it out. It’s kind of like giving your turkey a makeover to make it cook evenly and faster.
Origins and Benefits of Spatchcocking
Did you know this technique has been around for centuries? Chefs use it because it makes large birds easier to handle. By flattening the turkey, the heat spreads evenly across the bird, meaning no more undercooked thighs or overcooked breasts.
How Spatchcocking Enhances Cooking Efficiency
Think of your turkey as a book. When closed, it takes longer for heat to reach the pages (or in this case, the insides). When opened flat, heat hits every part at the same time. The result? Juicier meat and perfectly crisp skin.
“Spatchcocking isn’t just a technique—it’s a turkey revolution. Try it once, and you’ll never go back!”
Why Choose Spatchcocking for Your Turkey?
If you’re still on the fence about trying a spatchcock turkey recipe, let me break it down for you.
Even Cooking and Crispier Skin
Ever struggled with dry turkey breasts? That’s because they cook faster than the thighs. Spatchcocking evens the playing field, ensuring every bite is tender. And the skin? When laid flat, it gets evenly crisp, like your favorite potato chips.
Faster Roasting Times Compared to Traditional Methods
A whole roasted turkey can take hours—yawn. But a spatchcock turkey shaves that time by nearly half. That means less waiting around and more time enjoying your feast.
A Modern Twist on a Classic Dish
Let’s face it, everyone’s seen the same old roasted turkey on the table. Spatchcocking adds a wow factor. It’s modern, it’s sleek, and let’s be honest—it looks cooler.
Tools and Equipment Needed for Spatchcocking a Turkey
Before we dive into this spatchcock turkey recipe, let’s make sure you’ve got the right tools in your kitchen arsenal.
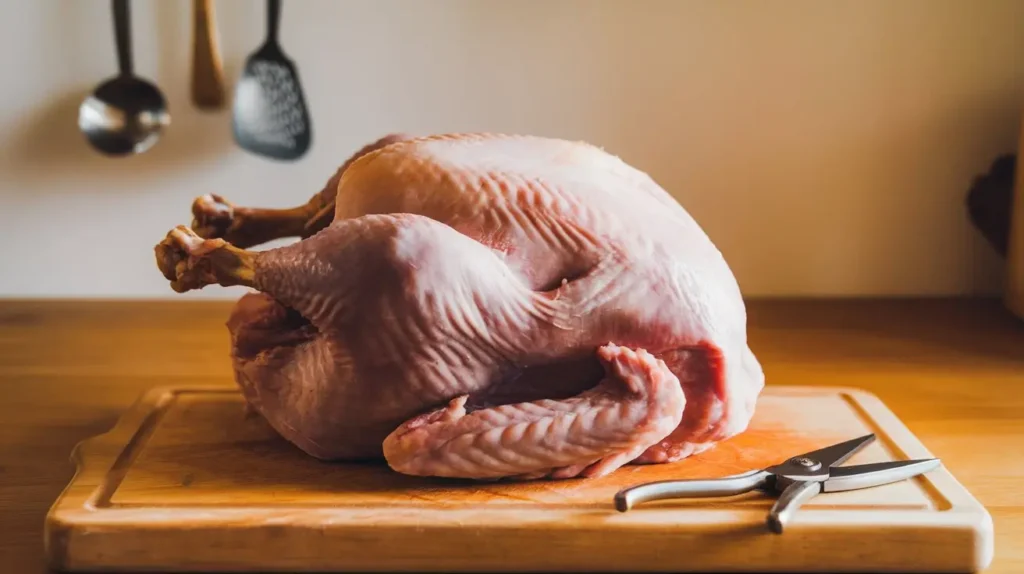
Essential Tools: Kitchen Shears, Knife, and Cutting Board
- Kitchen Shears: These are your main tool for cutting through the backbone. Trust me, a good pair of shears makes all the difference.
- Sharp Knife: For any small adjustments or cuts.
- Cutting Board: A sturdy one, because you’ll need a stable surface for all that turkey action.
Optional Add-Ons: Roasting Pan, Rack, and Thermometer
- Roasting Pan and Rack: To catch drippings and ensure even cooking.
- Meat Thermometer: For precision. You want to hit that magic 165°F (74°C) for safety without overcooking.
Pro Tip: Don’t skimp on your tools. Quality shears and a thermometer are like your turkey’s best friends.
How to Spatchcock a Turkey Step-by-Step

Now, let’s get to the fun part. Here’s your step-by-step guide to spatchcocking a turkey like a pro.
1 : Selecting the Perfect Turkey
Start with a fresh or thawed turkey. Aim for one between 10-14 pounds—it’s easier to handle and cooks more evenly.
2 : Preparing the Turkey for Spatchcocking
- Remove the giblets and neck from the cavity. Save them for gravy if you’d like.
- Pat the turkey dry with paper towels. A dry bird is key for crispy skin.
3 : Cutting Out the Backbone
- Place the turkey breast-side down on your cutting board.
- Using your shears, cut along one side of the backbone from tail to neck. Repeat on the other side to fully remove it. (Save the backbone for stock—it’s liquid gold! 🥳)
4 : Flattening the Turkey for Even Cooking
- Flip the turkey breast-side up.
- Press down firmly on the breastbone until you hear a crack. This flattens the bird and ensures it lays evenly.
“The first crack might feel intimidating, but it’s the sound of victory! You’re officially spatchcocking like a pro.”
Seasoning and Marinade Ideas for Spatchcock Turkey

Here’s where this spatchcock turkey recipe truly shines! The right seasoning can elevate your bird to legendary status.
Dry Rubs vs. Wet Marinades: Which Is Better?
- Dry Rubs: Perfect for crispy skin. Think salt, pepper, garlic powder, paprika, and thyme.
- Wet Marinades: Great for infusing deep flavor. A mix of olive oil, lemon juice, garlic, and herbs is a classic.
Classic Herb and Butter Seasoning Recipe
Here’s my go-to:
- 1/2 cup softened butter
- 2 tbsp fresh rosemary, chopped
- 2 tbsp thyme
- 1 tbsp garlic powder
- 1 tsp paprika
- 1 tsp salt
- 1/2 tsp black pepper Mix it all together and rub it generously under and over the skin.
Creative Flavor Variations to Try
Feeling adventurous? Try these:
- Citrus Glaze: Orange zest, honey, and a touch of ginger.
- Spicy Kick: Cayenne, chili powder, and smoked paprika.
- Asian Fusion: Soy sauce, sesame oil, and a sprinkle of five-spice.
Nutrition Facts Table
Here’s an idea of what you’re serving per 3.5 oz (100g) portion:
| Nutrient | Amount |
|---|---|
| Calories | 170 |
| Protein | 24g |
| Fat | 8g |
| Carbohydrates | 0g |
| Sodium | 70mg |
Cooking Methods for Spatchcock Turkey

Alright, so you’ve prepped your turkey, seasoned it to perfection, and it’s looking like a masterpiece thanks to this spatchcock turkey recipe Now, let’s talk cooking methods. Whether you’re roasting, grilling, or smoking, each method brings something unique to the table.
Roasting in the Oven: Tips for Perfect Results
The classic oven roast is foolproof, and it’s where most beginners should start.
- Preheat Your Oven: Set it to 425°F (220°C). A higher temperature gives you that coveted crispy skin.
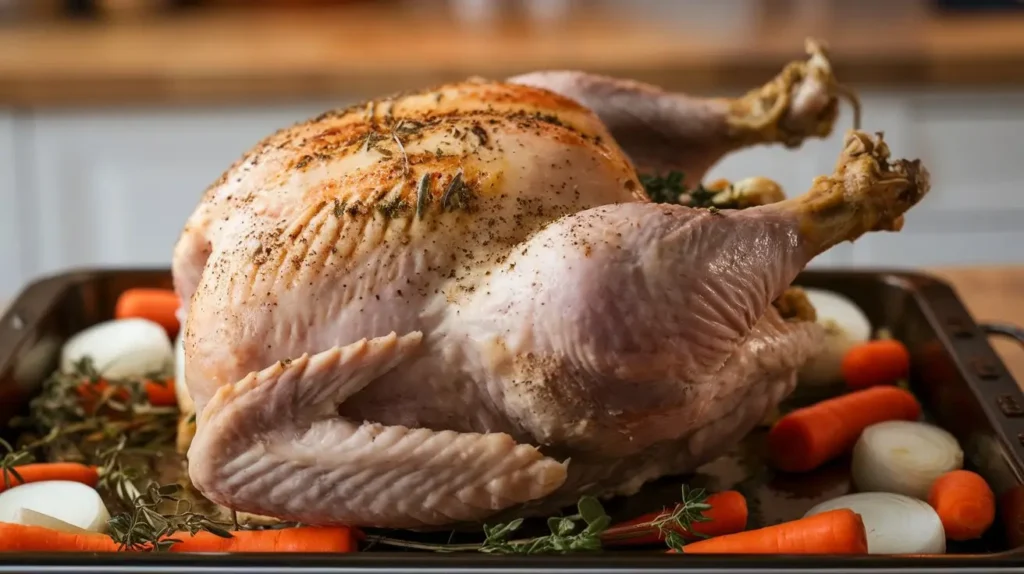
- Prepare the Pan: Lay your turkey flat on a roasting rack in a pan. Add some chopped onions, carrots, and celery underneath for extra flavor and a ready-made base for gravy.
- Roast Time: Plan for about 6-8 minutes per pound. For a 12-pound turkey, that’s roughly 1 hour and 20 minutes. Remember, cooking times can vary slightly, so keep an eye on the thermometer.
- Check the Temperature: Insert the thermometer into the thickest part of the thigh. When it hits 165°F (74°C), you’re golden.
Grilling a Spatchcock Turkey: Adding a Smoky Flavor
Love that smoky, charred flavor? The grill is your best friend.
- Set Up for Indirect Heat: Arrange your coals or burners so the turkey isn’t directly over the flame. This prevents burning.
- Add Flavor with Wood Chips: Soak apple or cherry wood chips in water, then toss them onto the coals or use a smoker box for gas grills.
- Cooking Time: Grill at 375°F (190°C) for about 1 hour and 15 minutes, turning occasionally for even cooking.
- Pro Tip: Baste with a butter glaze every 20 minutes for extra moisture and flavor.
Using a Smoker for a Unique Taste Experience
Want to take it up a notch? A smoker transforms your turkey into a showstopper.
- Set Your Smoker Temperature: Aim for 225°F (107°C). Slow and steady wins the race here.
- Choose Your Wood Wisely: Hickory, maple, or pecan wood adds a rich, smoky flavor that pairs beautifully with turkey.
- Low and Slow: A 12-pound spatchcock turkey takes about 4-5 hours. The payoff? Juicy, smoky perfection.
- Finishing Touch: Crank up the heat to 400°F (204°C) for the last 10 minutes to crisp up the skin.
“Pro smoker tip: Always keep a spray bottle of apple juice handy. A quick spritz every hour keeps your turkey moist and adds a touch of sweetness.”
Common Problems When Cooking Spatchcock Turkey and Solutions
No one’s perfect, and even the best cooks run into issues. Here are some common problems and how to fix them.
Problem: Undercooked Meat Near the Thighs
This is a common issue since dark meat takes longer to cook than white meat.
Solution: Use a meat thermometer! If the thighs are lagging behind, tent the breasts with foil to slow them down while the thighs finish cooking.
Problem: Soggy Skin
Crispy skin is non-negotiable, right? But sometimes, it doesn’t come out as planned.
Solution: Make sure the turkey is thoroughly dried before seasoning. Also, crank up the oven temperature to 450°F (232°C) for the last 10 minutes of cooking.
Problem: Dry Meat
Dry turkey is the stuff of nightmares.
Solution: Brining is your best defense against dryness. A simple saltwater brine can work wonders. Post-cooking, always let the turkey rest for at least 15 minutes before carving to retain juices.
Serving and Presentation Ideas for Spatchcock Turkey
Let’s talk about the grand finale: serving your masterpiece. A spatchcock turkey is a feast for the eyes as well as the stomach.
Carving a Spatchcock Turkey with Ease
Carving a spatchcock turkey is simpler than a traditional one, thanks to its flattened shape.
- Start with the Legs: Remove the drumsticks and thighs by cutting through the joints.
- Move to the Breasts: Slice along the breastbone and cut into even portions.
- Wings Are Next: These pop right off with a quick snip.
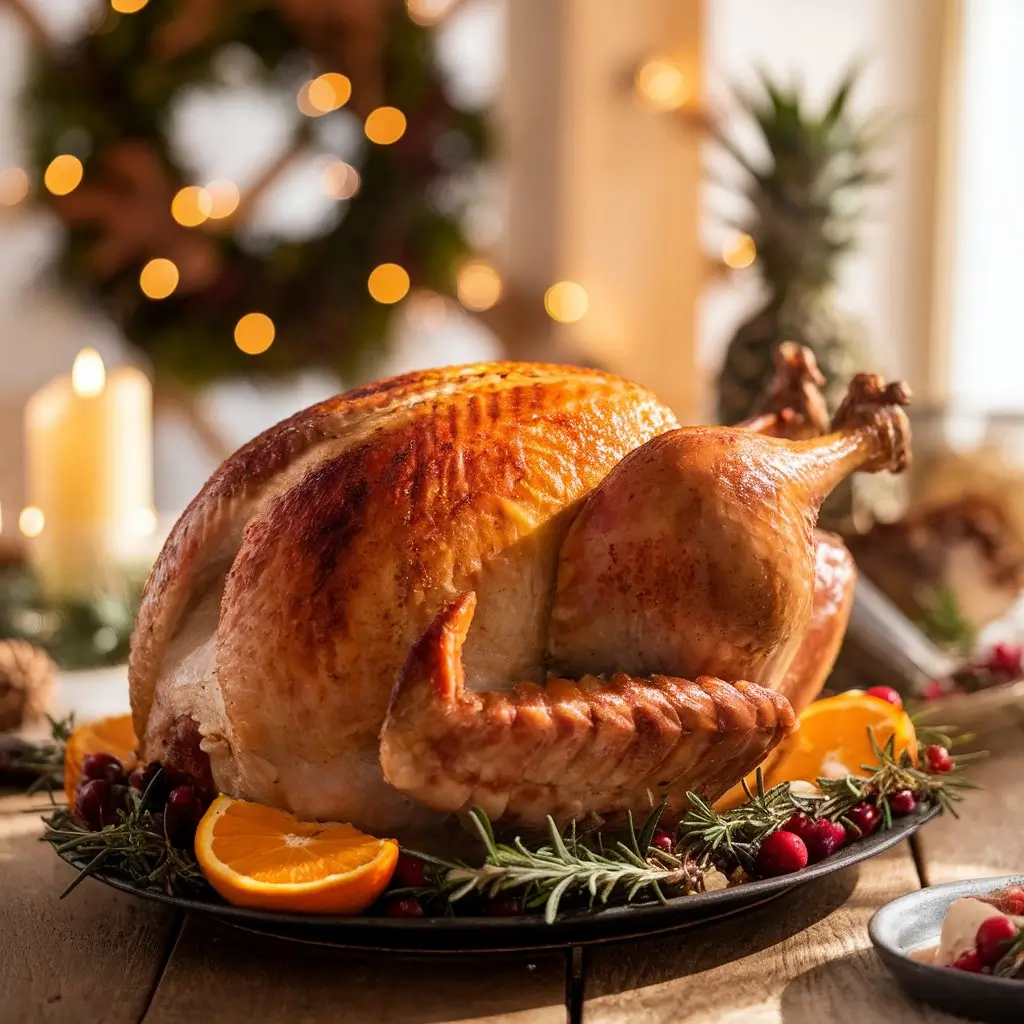
Plating and Garnishing Tips for a Festive Look
Presentation matters, especially if you’re hosting guests. Here’s how to wow them:
- Platter Magic: Arrange the carved pieces on a large platter.
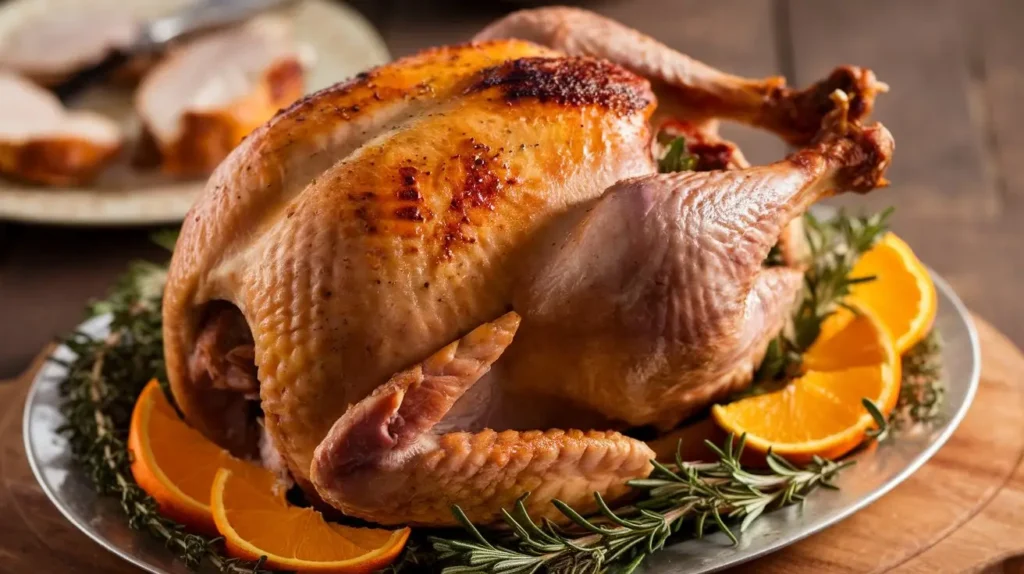
- Garnishes: Add pops of color with fresh rosemary, thyme sprigs, and orange slices.
- Pro Touch: Drizzle with pan juices for that glossy, picture-perfect finish.
Storing and Reheating Leftover Spatchcock Turkey
Sometimes the best part of turkey dinner is the leftovers. Here’s how to store and reheat them properly.
Best Practices for Freezing and Refrigerating Leftovers
- Refrigerate Quickly: Store leftovers within two hours to prevent bacteria growth.
- Portion for Convenience: Slice meat into manageable portions before storing.
- Use Airtight Containers: Keeps leftovers fresh longer.
Reheating Tips to Maintain Juiciness and Flavor
Reheating turkey without drying it out can feel like a mission, but it’s doable.
- Oven Method: Preheat your oven to 325°F (163°C). Cover the turkey with foil and heat for 15-20 minutes.
- Microwave Hack: Place a damp paper towel over the turkey slices to lock in moisture.
“Leftover turkey sandwiches, anyone? Add cranberry sauce, stuffing, and gravy for the ultimate stack!”
Quick Table: Turkey Cooking Temperatures by Method
| Method | Temperature | Time Per Pound |
|---|---|---|
| Roasting | 425°F (220°C) | 6-8 minutes/pound |
| Grilling | 375°F (190°C) | 7-9 minutes/pound |
| Smoking | 225°F (107°C) | 20-25 minutes/pound |
Frequently Asked Questions About Spatchcock Turkey
Got questions? Don’t worry—you’re not alone. Let’s tackle some of the most common FAQs about spatchcock turkey so you can approach your bird with confidence.
Can I Spatchcock a Frozen Turkey?
Technically, no. A frozen turkey needs to be fully thawed before you can spatchcock it. Why? Because cutting through a frozen bird is like trying to slice through a block of ice—not fun. 🧊
Quick Tip: To safely thaw a turkey, leave it in the fridge for 24 hours for every 4-5 pounds. A 12-pound turkey will take about three days.
What Is the Ideal Size for a Spatchcock Turkey?
Smaller is better when it comes to spatchcocking. Aim for a turkey between 10-14 pounds. Larger birds are harder to handle and may not cook as evenly. If you’re feeding a crowd, consider making two smaller spatchcock turkeys instead of one giant bird.
How Long Does It Take to Cook a Spatchcock Turkey?
The exact time depends on the size of your bird and your chosen cooking method. Here’s a quick rundown:
- Roasting: 6-8 minutes per pound at 425°F (220°C).
- Grilling: 7-9 minutes per pound at 375°F (190°C).
- Smoking: 20-25 minutes per pound at 225°F (107°C).
Expert Tips for the Perfect Spatchcock Turkey
Let’s elevate your spatchcock turkey game with these pro tips.
Dry Brining for Maximum Flavor
If you’ve got time, dry brining is a game-changer. Rub salt all over the turkey (under the skin, too!) and let it sit uncovered in the fridge for 24-48 hours. This step locks in moisture and enhances flavor. Bonus: It also helps dry out the skin for extra crispiness. 🧂
Use Compound Butter for an Easy Flavor Boost
Compound butter is simply butter mixed with herbs, spices, and aromatics. Smear it generously under the turkey skin for incredible flavor with minimal effort. Here’s a simple recipe:
- 1/2 cup softened butter
- 2 cloves minced garlic
- 1 tbsp fresh parsley, chopped
- 1 tsp lemon zest
- Salt and pepper to taste
Let It Rest Before Carving
Once your turkey hits the perfect temperature, resist the urge to carve immediately. Resting the bird for at least 15-20 minutes allows the juices to redistribute, so every bite is juicy and tender. Think of it as the turkey’s version of a power nap.
Bringing It All Together
Now that you’ve mastered the art of spatchcocking, let’s recap the journey and get ready to serve up a bird that’ll leave your guests raving.
Why Spatchcocking is a Game-Changer
- Faster cooking times mean less stress in the kitchen.
- Even cooking ensures juicy thighs and moist breasts.
- The presentation is modern, sleek, and a total conversation starter.
Your Spatchcock Turkey Game Plan
Here’s a quick checklist to follow for turkey success:
- Prep: Thaw your turkey, gather tools, and spatchcock.
- Season: Use a dry brine, compound butter, or your favorite marinade.
- Cook: Choose roasting, grilling, or smoking and follow the time guidelines.
- Serve: Carve with confidence, plate beautifully, and enjoy!
A Final Word (and a Slice of Turkey)
Congratulations! You’re now armed with all the knowledge you need to create a spatchcock turkey that’s juicy, flavorful, and the star of any table. Remember, practice makes perfect, and each turkey is a chance to refine your skills.
“A spatchcock turkey is more than just a recipe—it’s an experience. So go ahead, grab those shears, and make some turkey magic happen!”
Happy cooking, and may your turkey always be crispy, juicy, and downright delicious. 🍗✨

